To blog or not to blog, is that the question?
If you’ve been thinking about starting a blog and weren’t sure about how to get started, then maybe I can help. I’ve been at it for a little while now and thought that I’d share some information and maybe help you to avoid some of the difficulties that lie ahead.
First, to get started, I’ll need you to answer a question. Do you already have a website?
If so, you should check and see if your host has some blog software already installed that you can add to your site. Chances are they do, and it’s probably WordPress, which is what I’m using, along with over 400,000 others!
If you don’t have a website, don’t panic–Word Press has you covered.
Getting your Free blog from Word Press
Just go to their website, WordPress.com; click the “Get Started” link, and they will host a site for you, for free! For our example I will use the name: autoglassjim, so our address will be: “http://autoglassjim.wordpress.com“. You’ll have to sign up for an account, you know the routine; username, password, and email. Be sure to write your username and password somewhere, you’ll need it later. Next you’ll have the option of paying for an account with a lot of extra features or signing up for the free account, we’re going to go with the free option. After signing up, WordPress will send you an email with a link for you to prove that you are who you say you are, you are, aren’t you?
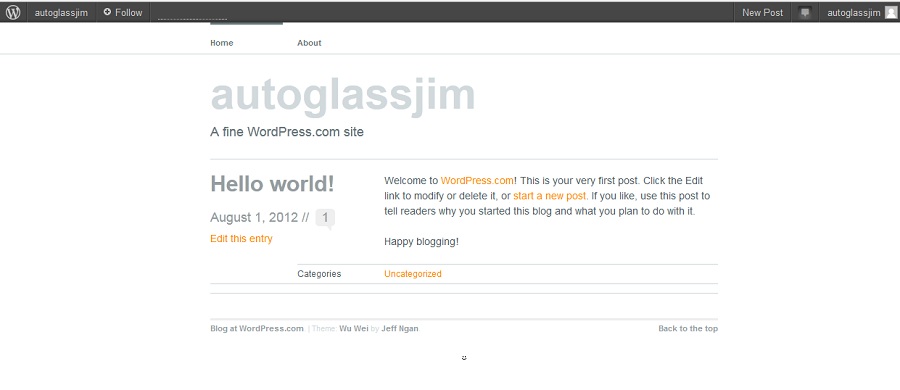
After clicking on the link, your site is now active, congratulations! Let’s go to our example site and take a look: autoglassjim.wordpress.com
 Clicking on the links “Edit this entry” or “Start a new post” will take you to your admin page where all the fun begins!
Themes
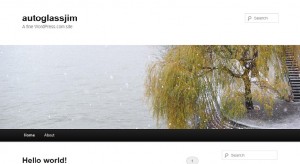
The first thing we will work with is Themes, which is the look of your blog. It’s the color of the background, the font type and color, menu locations; everything design related. There are themes that are free and some that you can buy. Changing between themes doesn’t effect any of the content that you have written. Let’s try changing our theme. We’ll choose “Twenty Eleven” and we’ll click on “activate” on the admin page. On the top it will tell us that the theme is activated and we’ll click on the “visit site” link:
As you can see, the site looks totally different. You should try a few themes until you find something that you like. Don’t worry about the image that’s on there, we’re going to change that later.
Ok, posts are the backbone of a blog, so let’s go ahead and write your first post.
Writing your first post
On the webpage there is a link on the menu for “Site Admin.” This is how we access our admin page, so click on that. You will have to enter your username and password, you did write those down, right? On the admin page in the left column choose “Posts” and you will see a list of posts that are on your blog. For now there is only one, “Hello World,” so we will start with that one. We could delete it and start over, or just edit it–so let’s edit it. So we hover over “Hello World” and click “Edit.” Your WYSIWYG editor (What You See Is What You Get) will open up. At the top of the page is the title of your post. Let’s change it to something else. I’m going to post an article about windshield repair, so that is my title–you choose whatever you like.
Adding content to your blog
Now we will add content to your post. Content is king in the blog world, you want to write posts that are loaded with information that people will want to share with everyone. The window below the title that you just changed is your editor. What ever you write here will show up on your blog. It’s a lot like other word processing programs, just without a lot of the features. Let’s look at the menu bar across the top of the editor. If you are just seeing one row of tools, then click on the last one that is the “show/hide kitchen sink” and you will have another row. Mousing over the tools icons will give you an explanation of what they do. I suggest that you go ahead and write something and try out some of the tools, just to get a feel of things. You can change the font size by choosing “paragraph” or one of the “heading” settings. When you want to see what it looks like, just click the “Update” button on the right. Then go to the “View Post” link above your title.
Adding images to your post
Now let’s add an image to your post. Above the editor toolbar is a link, “Upload/Insert,” that we will click on. Then, to add an image from your computer, click on “select files” and browse to an image and click OK. View your post again and the picture should be there. You can use the formatting icons to move the image to the left, right or center.
Publishing your post
If you want to save your post to work on later, click the “Save Draft” button in the Publish box on the right. When you’re ready for your post to go live, just click the blue “Publish” button on the right and you’re done!
Changing the “Featured Image”
On the top of your blog you have an image that’s called the “Featured” image. Depending on what theme you’re using, this image will either stay the same for every page or it will be a different one. We’re going to put our own image there to give our blog a unique look.
You might have to change the size of your image to work as the featured. Check the size of the featured image that’s there now, by right clicking on it and choosing, view image in FireFox, or properties in IE, and the size will be displayed. That will be the size you need to make your image.
After you’ve prepared your image, make sure that you’ve saved your post as a draft, as I talked about in the “Publishing your post” paragraph above. Then, at the bottom of the right column is a box called, you guessed it, “Featured Image!” Click the button that says, “Choose a featured image” and navigate to the image on your computer. You’ll then see the image, and others if you’ve added them, click on it, add a title and description on the right, and click “update featured image.” Click “update” and then “preview changes,” and your post should appear with the new featured image.
I’ll be adding more information later, so thanks for stopping by, and happy blogging!
Jim

